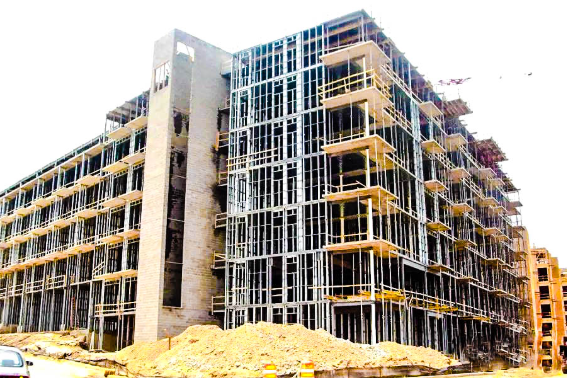
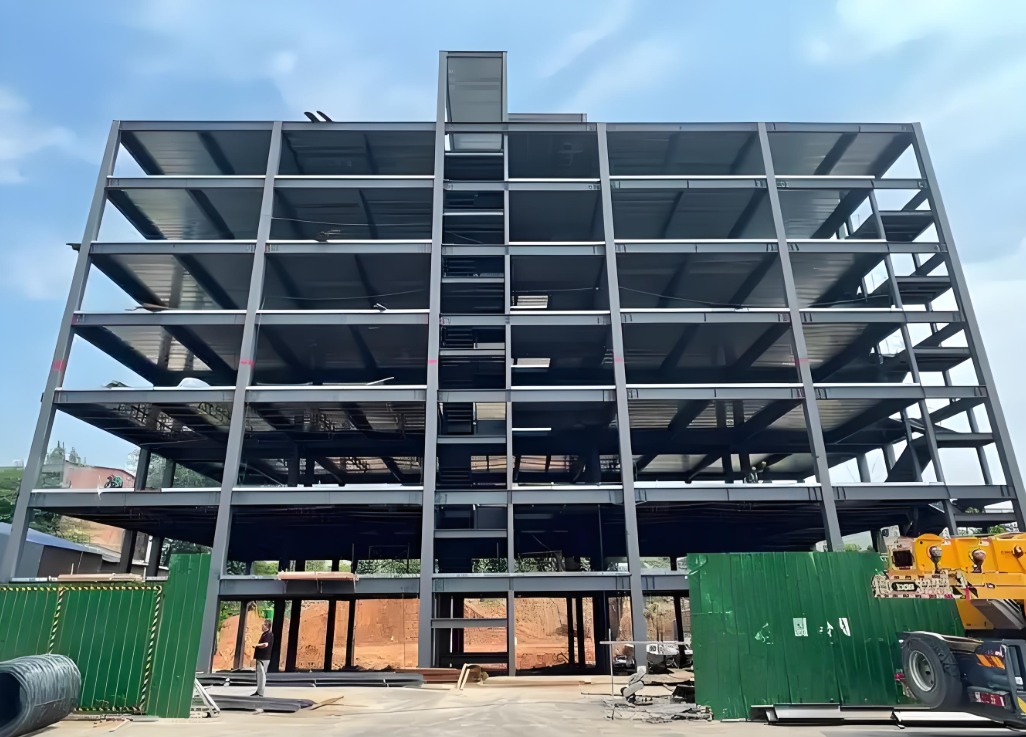
Steel Structure Warehouse Hoisting Process and Hoisting Plan
Hoisting Process Flow
Positioning → Elevation Setting → Column Top Bolt Pre-embedding → Elevation Verification → Line Marking → Column Installation → Steel Beam Installation → Secondary Component Installation → Welding → Touch-up Painting → Completion
Steel Column Installation Process

I. Hoisting of Steel Columns
Foundation Recheck: Measure anchor bolt exposure length, deviation of bolt centerline from the baseline, bolt spacing, and foundation elevation. Address any non-conformities before hoisting.
Column Marking: Mark a 500mm reference line on visible column sections for fine adjustment of elevation during installation.
Hoisting Method:
Secure the column with a single wire rope, positioning the sling point at 1/3 of the column length from the top.
Lift the column using the rotation method and position it. Place padding at sling contact points.
II. Column Alignment
Vertical Alignment:
Mark centerlines on visible column faces.
Adjust verticality using a theodolite in two perpendicular directions.
Control Line Verification: Ensure column verticality by measuring the distance from the column inner edge to pre-marked building control lines.
Integrated Adjustment: Simultaneously address elevation, axis deviation, and verticality until all criteria are met.

Steel Beam Installation Process
Beam Delivery:
Transport beams near columns using mobile cranes.
Transfer beams to the floor level via derrick cranes. Heavy main beams may be hoisted jointly with mobile cranes.
Installation Sequence:
Begin from Zone 3, installing main beams first, followed by secondary beams and purlins.
Secure beams with installation bolts or temporary welding before releasing hooks.
Rigging Details:
For long beams (e.g., 20m), use a steel spreader beam and triangular lifting lugs to widen wire rope spacing and optimize sling angles (refer to rigging diagram).


